
I absolutely love long weekends. I just feel like you can be so much more productive while still leaving time for some fun and relaxation. This 4th of July weekend was no exception. Between concerts and pool parties, I still had the opportunity to take a trip to the Kane County Flea Market.
I brought along my bestie who was a flea market virgin. It’s safe to say she thoroughly enjoyed the experience, and we’ll definitely be heading back again soon. While at the flea market, we picked up some reclaimed barnwood from a local vendor for a big time DIY project. Her and I have been talking about taking on building a headboard for some time now. Originally we thought we wanted to use pallet wood, but when we saw the beautiful, gray-weathered barnwood, we knew that it would be just perfect.
Now, I must say, the thought of creating a headboard can be fairly intimidating just based on the sheer size of the project alone. But honestly, the form and design is fairly straightforward so this can be a very simple DIY as long as you have access to all the tools you need. So if you’re looking to give your bedroom a rustic refresh, this is for you!
Materials
- Salvaged barn wood
- 160 grit sand paper discs
- Wood Screws (we used 1.5 in., but this will depend on the thickness of your wood)
- (2) 1 in. x 6 in. x 6 ft. Common Board
- Minwax Polycrylic Protective Finish – clear satin
- (4) 2″ bolts with 5/8 hex nut (optional)
Tools
- Power drill
- Orbital sander
- Circular saw
- Protective eyewear and mask
Instructions
- First, you’ll want to determine the desired width of your headboard. I’ve listed the standard widths for each bed size here:
Twin 39 inches
Twin XL 39 inches
Full 54 inches
Full XL 54 inches
Queen 60 inches
King 76 inches
California King 72 inches
For my queen headboard, I decided to go with 62 inches wide leaving just an inch on each side. Luckily for me, the barnwood I got measured perfectly. If it’s too long, you’ll need to measure, mark and saw to your desired size.
If your barnwood isn’t long enough, that’s okay too! You can create a headboard using a more staggered look. You’ll just need to purchase one additional 1 in. x 6 in. x 6 ft. Common Board to attach the boards in the middle.
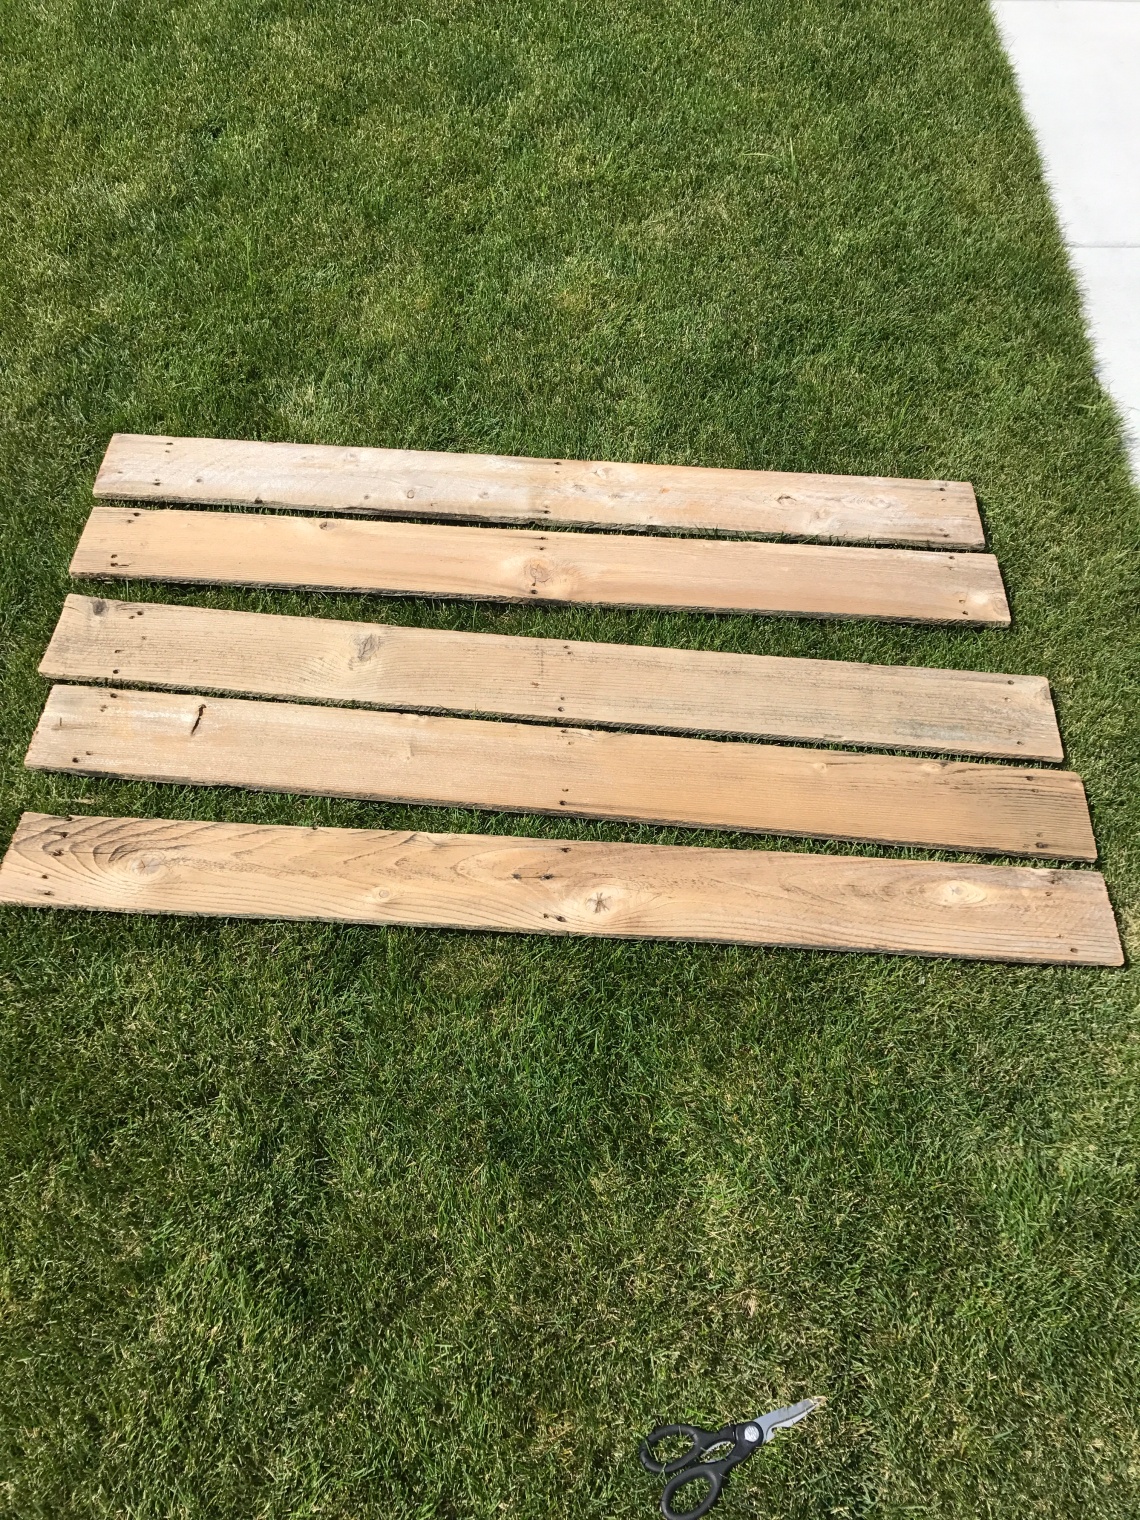
2. Next, lay out your headboard exactly how you want it to look. Typically there’s going to be one side of the boards that look much nicer than the other so go with that. Also, if there’s a few boards which aren’t in great shape, put those ones towards the bottom of the headboard as the pillows will most likely cover it up.
Something to keep in mind…. barnwood is not perfect. So when you’re lining it up there will be gaps and imperfections. This just adds to the beauty and uniqueness of your headboard!
3. At this point, you’ll want to measure your projected height of your headboard, depending on your preference. Then you’ll want to measure the height of your bed. Add those two heights together to give you the height of the legs of headboard which are the (2) 1 in. x 6 in. x 6 ft. Common Boards. At this point, you can choose to measure, mark and saw the boards or you can wait until the end like I did.
4. You’re ready to sand the barnwood! Grab your orbital sander and 160 grit sandpaper and begin. During this step you’ll want to use protective eyewear and a mask to avoid contact with the dust. Make sure when you’re sanding that you’re being very careful as barnwood tends to be a bit fragile. Don’t apply too much pressure. To save time and effort, I only sanded the side that would show.


It may not look so cute… but safety first!
5. Starting at the top of the headboard, use the power drill to screw in two nails on each side of the barnwood to both pieces of the common boards. For reference, see the photo below. You’ll want to make sure that you don’t drill the nails in too far that they stick out the back. You can always try backing out to screw a bit, otherwise you may need shorter screws.

6. Using the same technique, work your way down the headboard to screw on all of the barnwood. Make sure that you are keeping the boards as tight as possible to ensure that there are minimal gaps between the barnwood.

7. Once you’ve gotten everything drilled into the common boards, the next step is to seal the barnwood. I used Minwax Polycrylic Protective Finish in clear satin. I wanted to used a flat matte spray to keep the wood as natural looking as possible. You can be pretty generous with the finish by using 3-5 coats. You’ll want to let this dry until it’s no longer tacky.

8. Once dry, you’re ready to attach it to your bed frame. Just line up the legs with the slots on the bed. Mark where you’ll put the bolts, and then you can drill two holes in where the spaces are on the frame for each side. Then place the bolts in the holes and tighten. That’s it!
It really is a simple process and such fun way to spruce up a bedroom. If you have any questions on the process, please feel free to ask in the comments below.
Happy DIY-ing!
xo,
lauren
ps. If you liked this post, I would so appreciate it if you would pin the image below to your DIY board on Pinterest. Thanks y’all!


3 Comments
Nicole
July 11, 2017 at 10:08 amThis looks amazing. Definitely going to save it for when I feel like testing my DIY skills. Great instructions!
Lynn
July 11, 2017 at 3:03 pmI love this! You did a really great job!
bugbeeandme
July 11, 2017 at 7:04 pmThis is gorgeous! Kudos to you for taking on a project and completing. It looks great with your bedset too! i’m pinning