
About a month ago, my bestie, Morgan, moved into an apartment in Chicago. She wanted her new space to feel cozy and comfortable without having to spend a lot of money. She’s currently in grad school so keeping it cheap was a must! She expressed the need for a get-ready station in her bedroom since she shares one small bathroom with her roommate. We looked all over for a simple vanity that would fit the space. The ones we found were either too expensive or just not quite right. So instead, we decided to refinish some old furniture pieces that she already had using chalk paint.
We spruced up the small table by using Annie Sloan Chalk Paint in Graphite with Annie Sloan Soft Wax in Clear over the top. For the technique we used, just check out this past blog post… Transforming a Garage Sale Find with Chalk Paint.
For the mirror, here’s what we did…
Supplies
- Rust-Oleum Chalked Spray Paint – Linen White
- ScotchBlue Painter’s Tape
- Old newspapers
- Sandpaper – 60 grit
Instructions
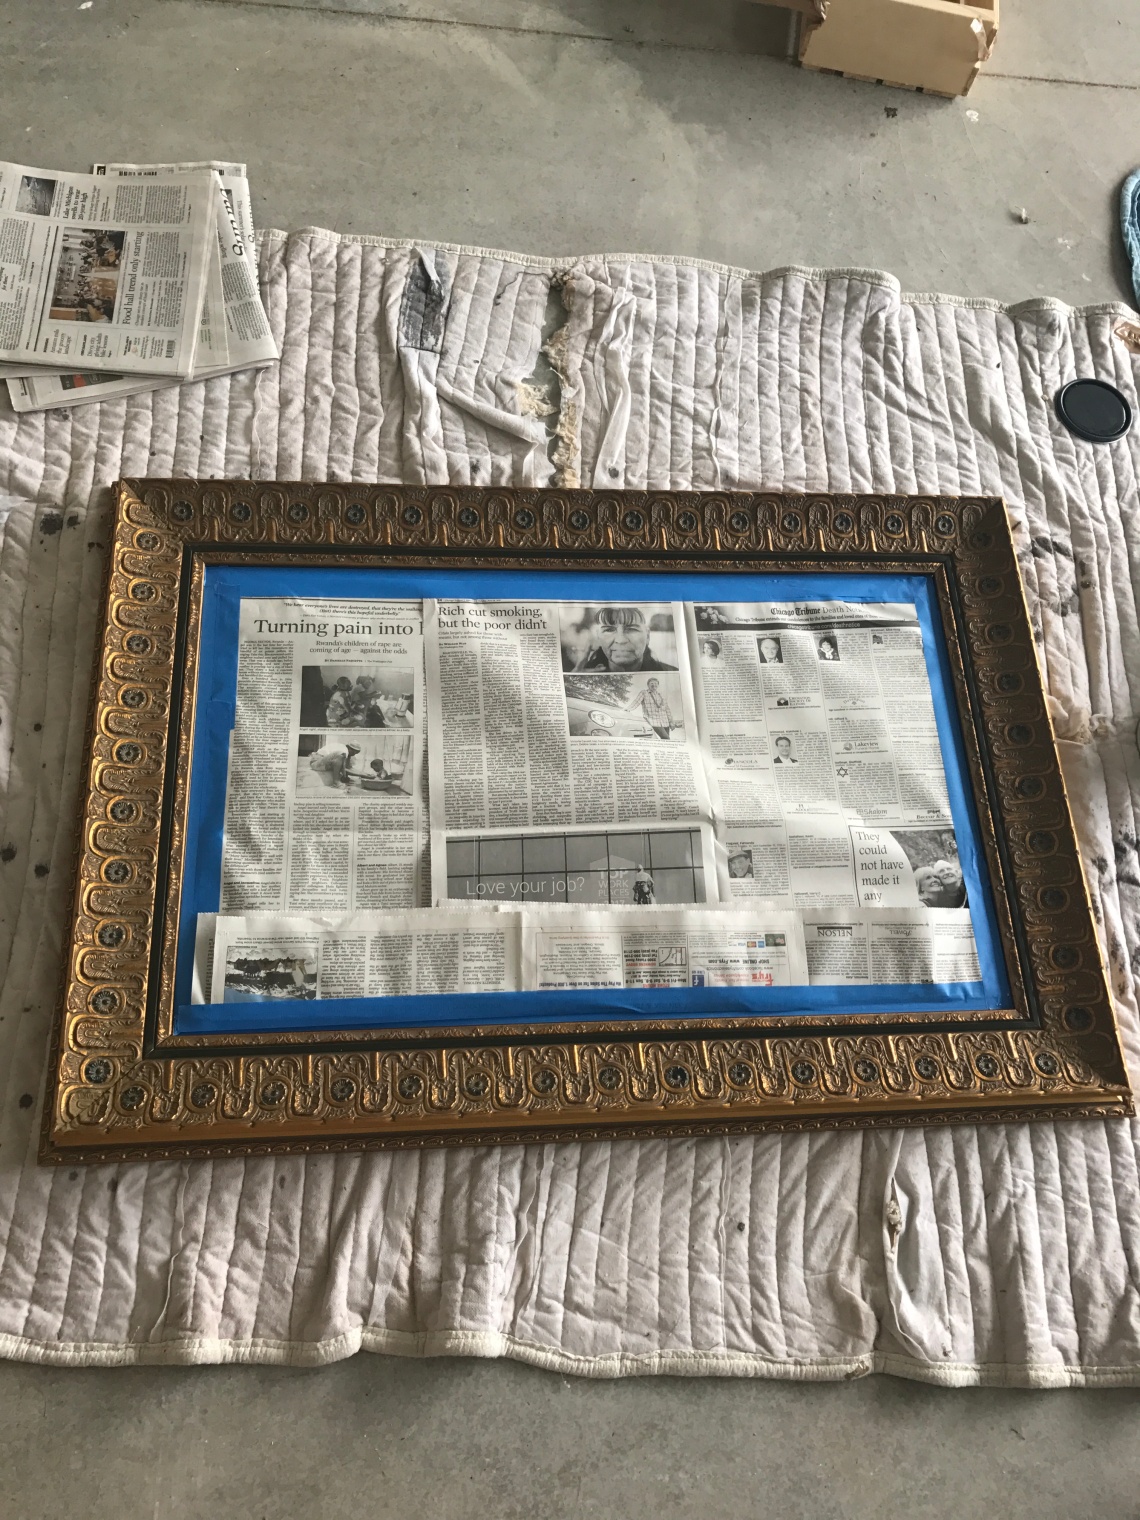
- Start off with an old mirror you’re looking to transform. We used this old gaudy gold mirror pictured below or a wooden frame could work as well.

2. Brush the edges of the mirror off with a dust rag to insure you’re starting with a clean surface.
3. Use the painter’s tape to create a rectangle around the outer edge where the mirror meets the frame. Be sure to take your time and get as close to the edge of the frame as possible. This will insure a clean edge between the painted frame and the mirrored surface. You will be taping right on the mirror’s surface.
4. Next, lay newspaper over the entire mirrored surface. You’ll want to layer up just to make sure you don’t have any paint bleed through. Tape the newspaper down to the other tape that you applied in step 3. When you’re done it should look like this.
5. Using the Rust-Oleum Chalked Spray Paint, spray 2-3 coats onto the frame. You’ll want to go easy without layering up too much too fast to avoid dripping on the outer edges. If it still looks splotchy, go ahead and do another coat.
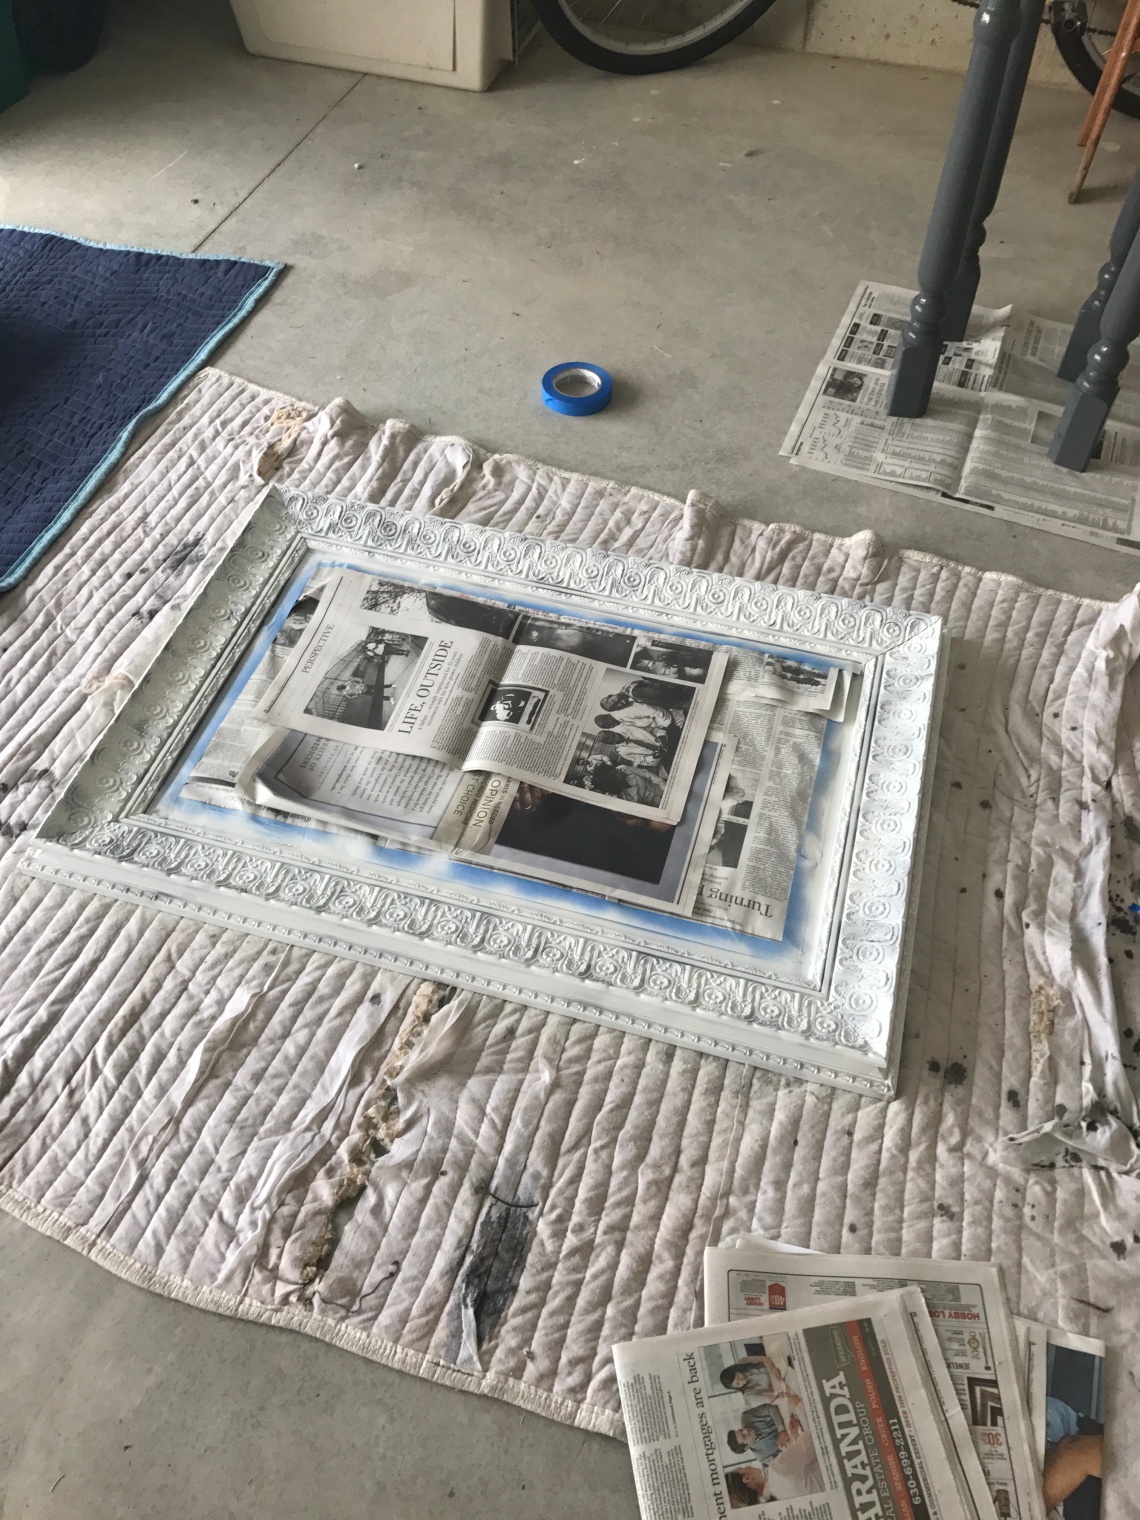
6. Let sit and dry overnight. Once it is, you’ll be ready to distress. Using the 60 grit sand paper, scrub it off a bit in the corners and along the edges. You can make it look as rough as you would like or leave it more pristine. That’s all up to you!
7. Then you’re ready to take off the newspaper and painter’s tape. Just go slow and steady when peeling off the tape to make sure you don’t rip off any paint.

It’s really so very simple. Any questions on the process, just let me know! I’d love to see how yours turns out.
xo,
lauren
p.s. If you enjoyed this tutorial or found it helpful, please pin using the image below!


3 Comments
Heather
July 20, 2017 at 11:56 amLauren, I love the step-by-step instructions! They are very clear and make this DIY easy to implement. Thanks so much for sharing!
Lisa
July 20, 2017 at 12:31 pmWe have an old mirror like this one hanging around, this is exactly what it needs. So easy and yet looks really lovely when it’s all done. Another superb tutorial, thank you Lauren!
yellowroselife
August 3, 2017 at 6:41 pmI’m totally gonna do this to an old mirror!