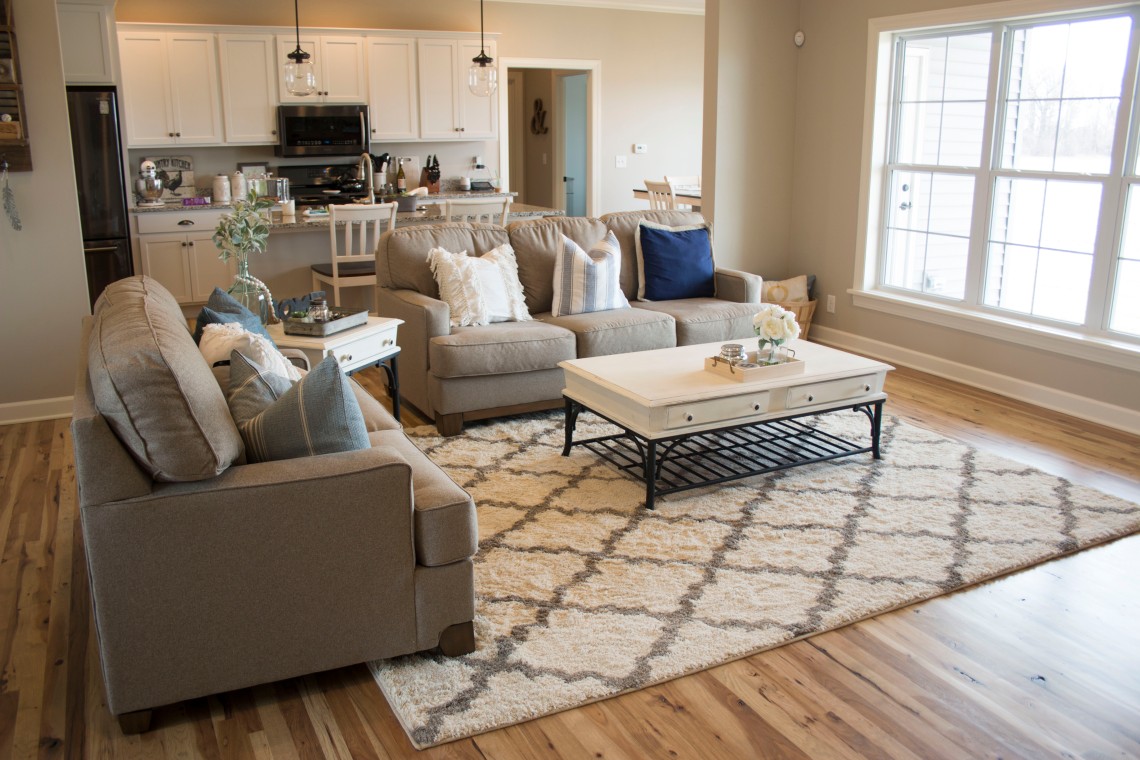
When my husband and I decided to build our home, we knew we wanted open concept. The thought of having one big great room for our kitchen/living/dining was perfect for us. Not only does it create a perfect experience for entertaining, I’m hoping that down the road when we have little ones, it will make our lives a bit easier as well.

I thought I would share a little tour of our Farmhouse Great Room to show how we set up our furniture to break up the space and to still make it feel purposeful.
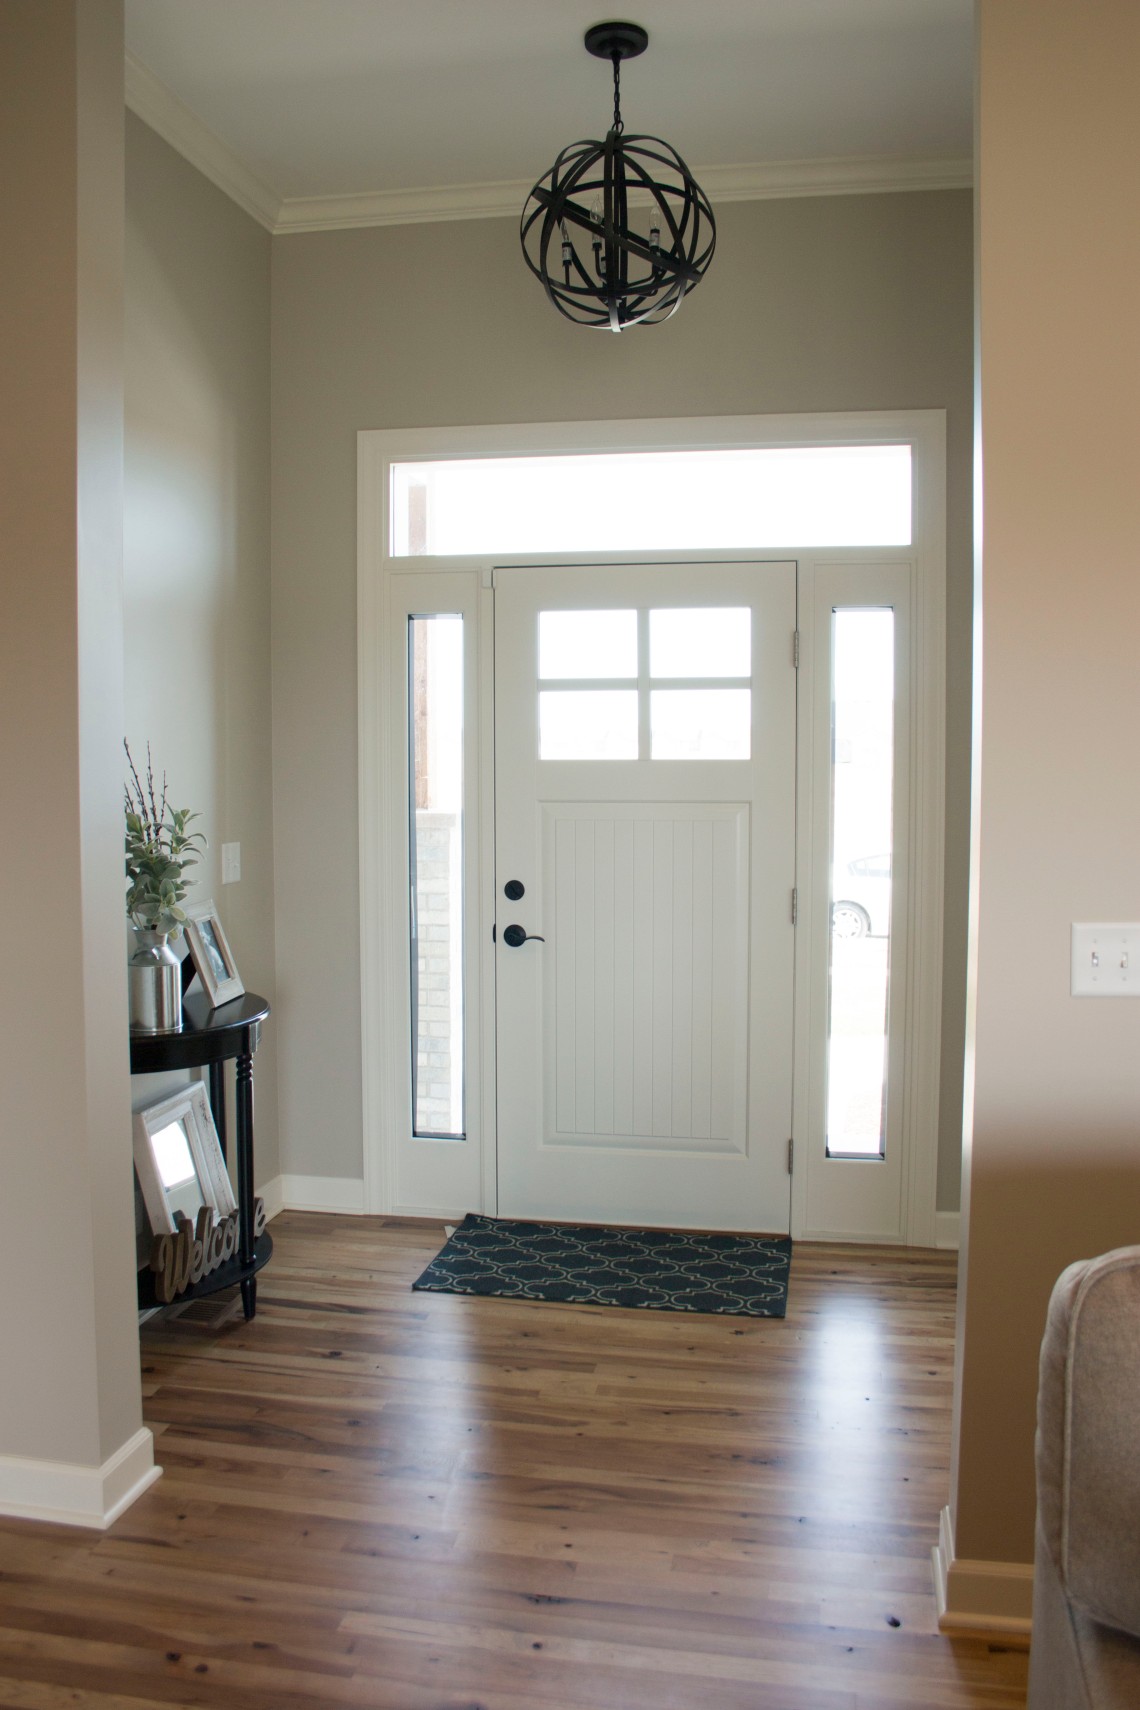
When you walk in our front door, we knew we wanted our entry way to make a statement. My husband and I both fell in love with this Metal Orb Chandelier from World Market, and you really can’t beat it for the price. A similar option from Pottery Barn will cost you almost three times as much. This light fixture gave the space a rustic/industrial feel the second you walk in the door.
Also, one of the upgrades in our home that we opted for was our front door. Again, with such a grandiose entry way from the outside and the interior, we knew this was worthwhile and would immediately give the house some more curb appeal. We went with the Therma-Tru Classic-Craft Canvas Collection fiberglass door with the craftsman grille and sidelites.
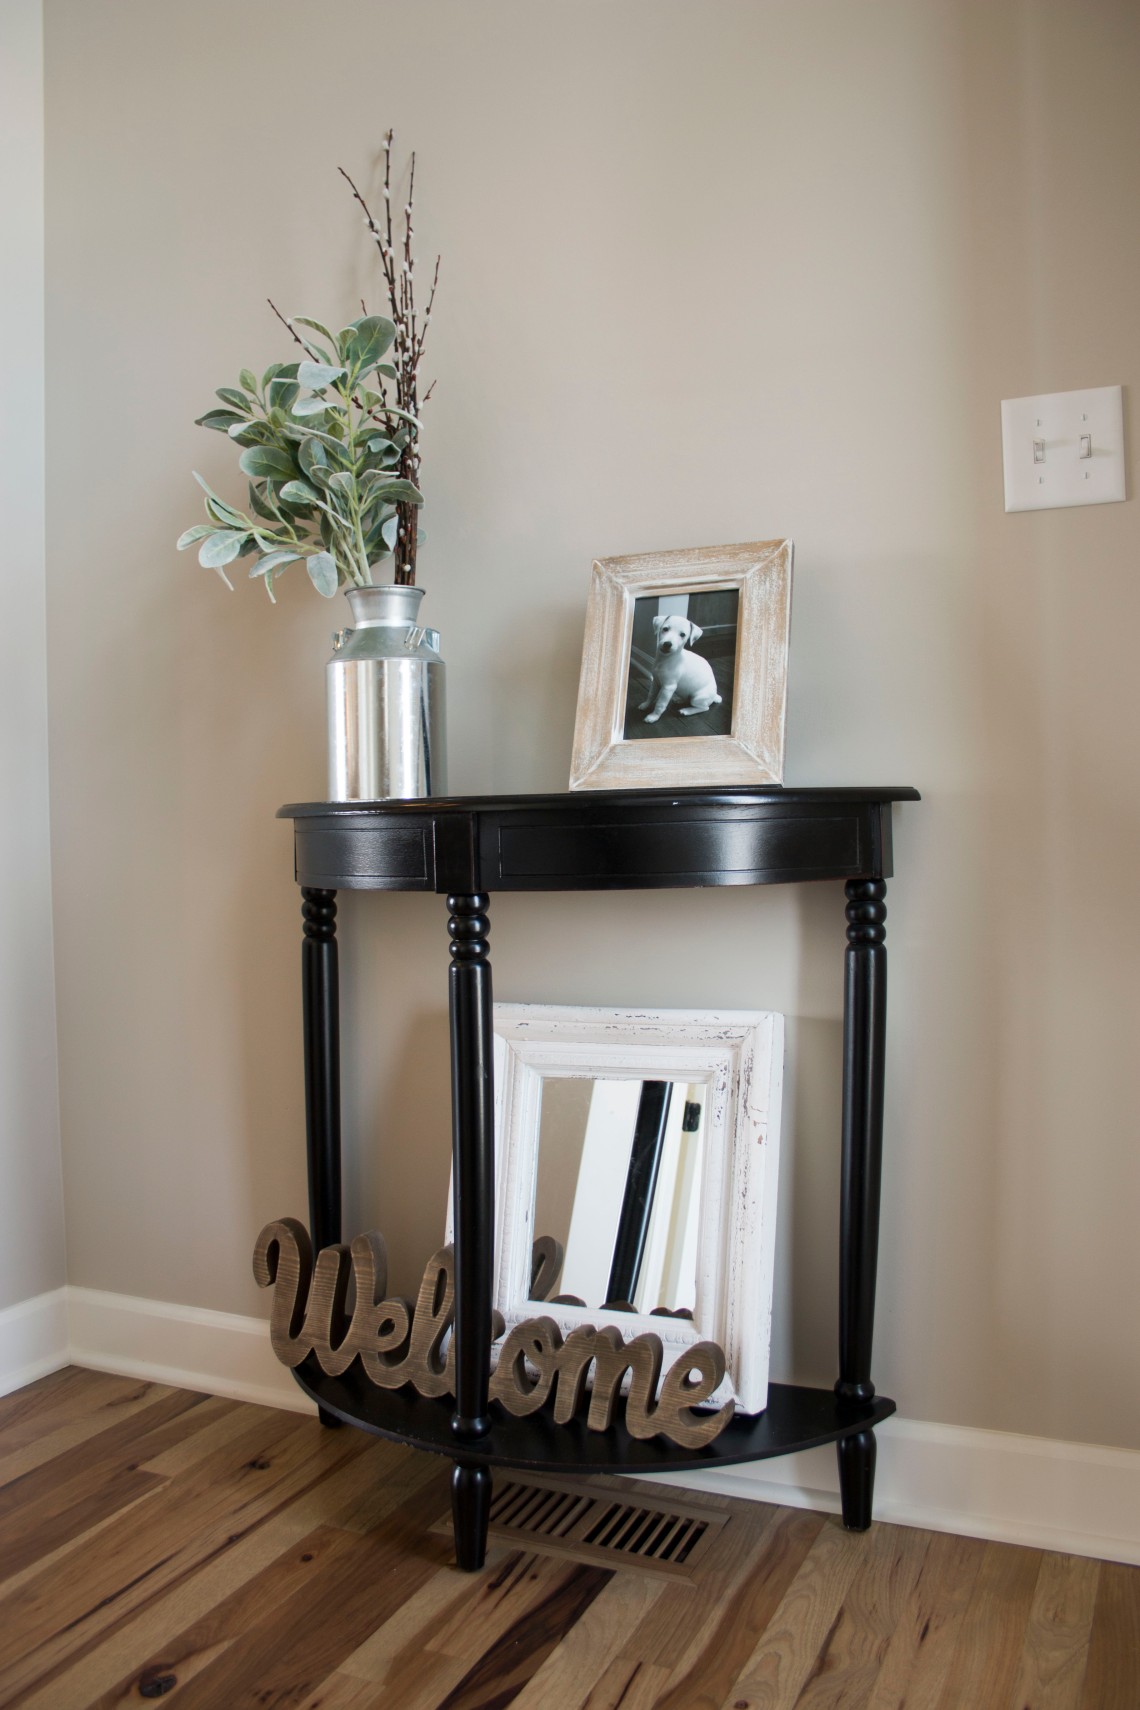
I just love neutrals and simplicity. That’s why we opted to paint the majority of our house using Benjamin Moore Revere Pewter. It’s the ultimate ‘greige’ paint. Depending on the lighting, your furniture and decor, this color can look look anywhere from a light tan color to a cooler gray. I like that it keeps the space light, bright and airy. We painted our trim a slightly off-white using Benjamin Moore White Dove. Our builder recommended that we stay away from a true white, because it tends to show dirt and dust much easier.
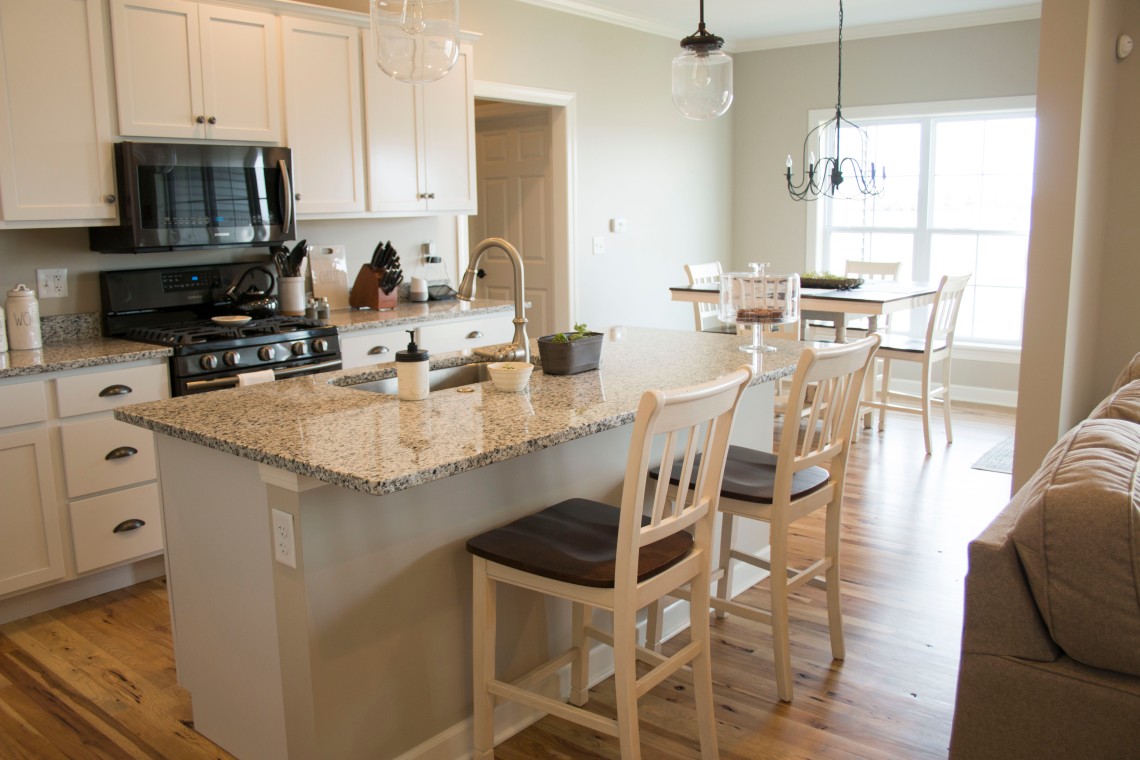
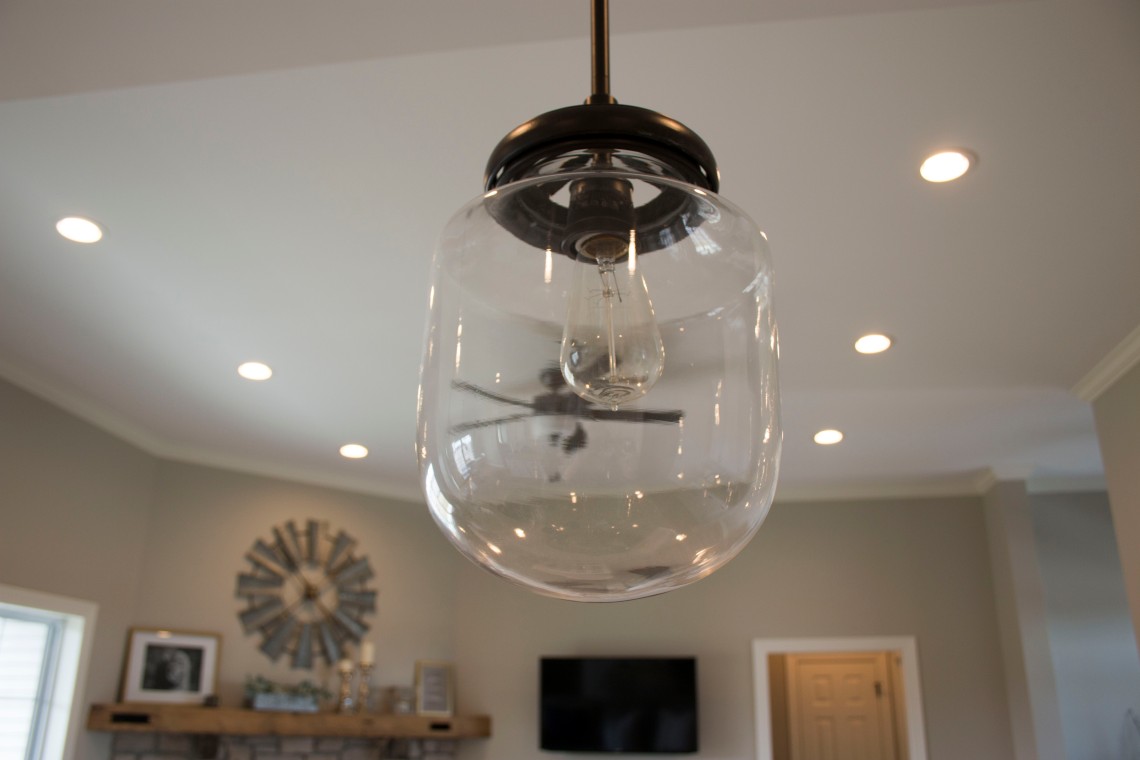
We also had a very specific vision (and budget) in mind for our light fixtures in our kitchen and dining spaces. We knew what look we wanted, but had a very specific budget we wanted to stick to. When a building a house, it’s so very easy to go over on lighting. It can really add up fast! So when we discovered Menard’s Patriot Lighting® Judd 13″ Olde Bronze 1-Light Mini Pendant we were thrilled.
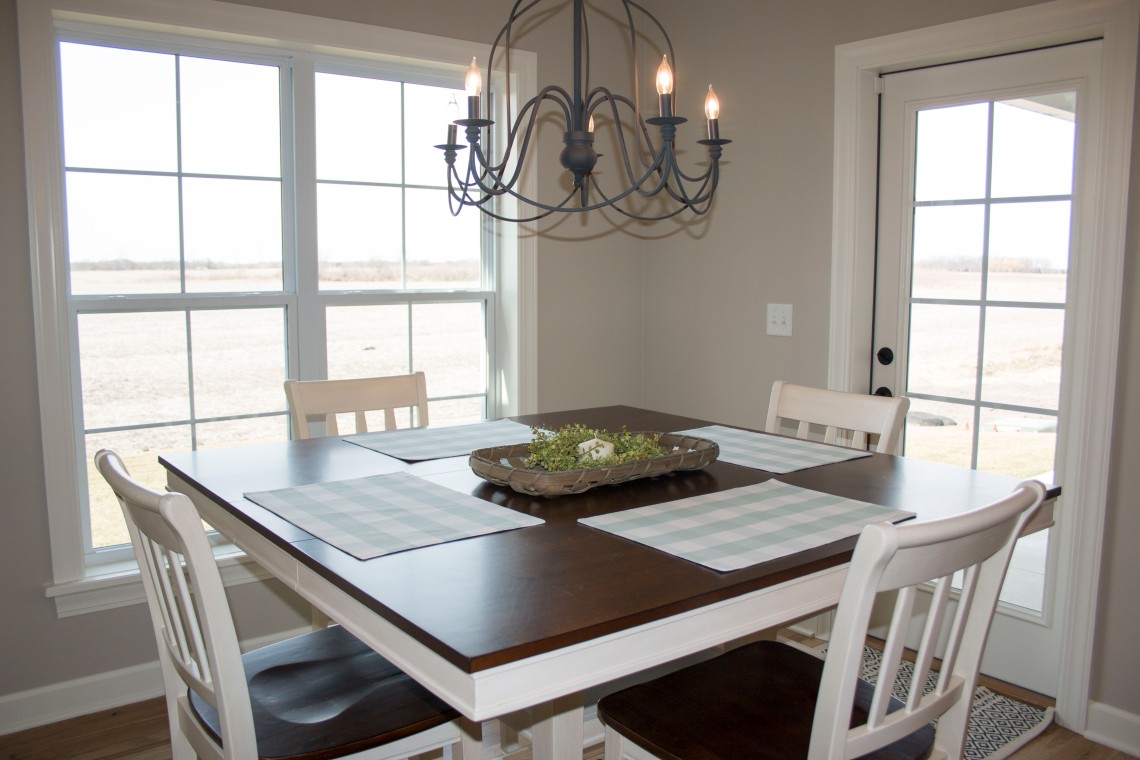
After watching countless episodes of Fixer Upper, I always knew I wanted a “Joanna Gaines-inspired” farmhouse chandelier for our dining nook. I’m telling you… the lighting selection at World Market has to be a best-kept secret. The looks are so on trend, but yet an incredibly affordable price. We went with the Rustic Wire Chandelier. The color is a matte gray, but I’ve read some reviews from buyers who decided to paint it black and had great success. For me, I don’t mind the gray color… but if you’re set on black this could be an option.
 My absolute favorite part of our Farmhouse Great Room has to be our fireplace. Truth be told, I never realized how large it would be until we started looking at mantle selections, but I’m in love. Without it, I’m not sure the space would have the same flow. When building our house, the fireplace was always a must-have. Living in Illinois where it’s pretty cold at least six months out of the year, it’s so nice to have as a practical heat source in addition to being a focal point.
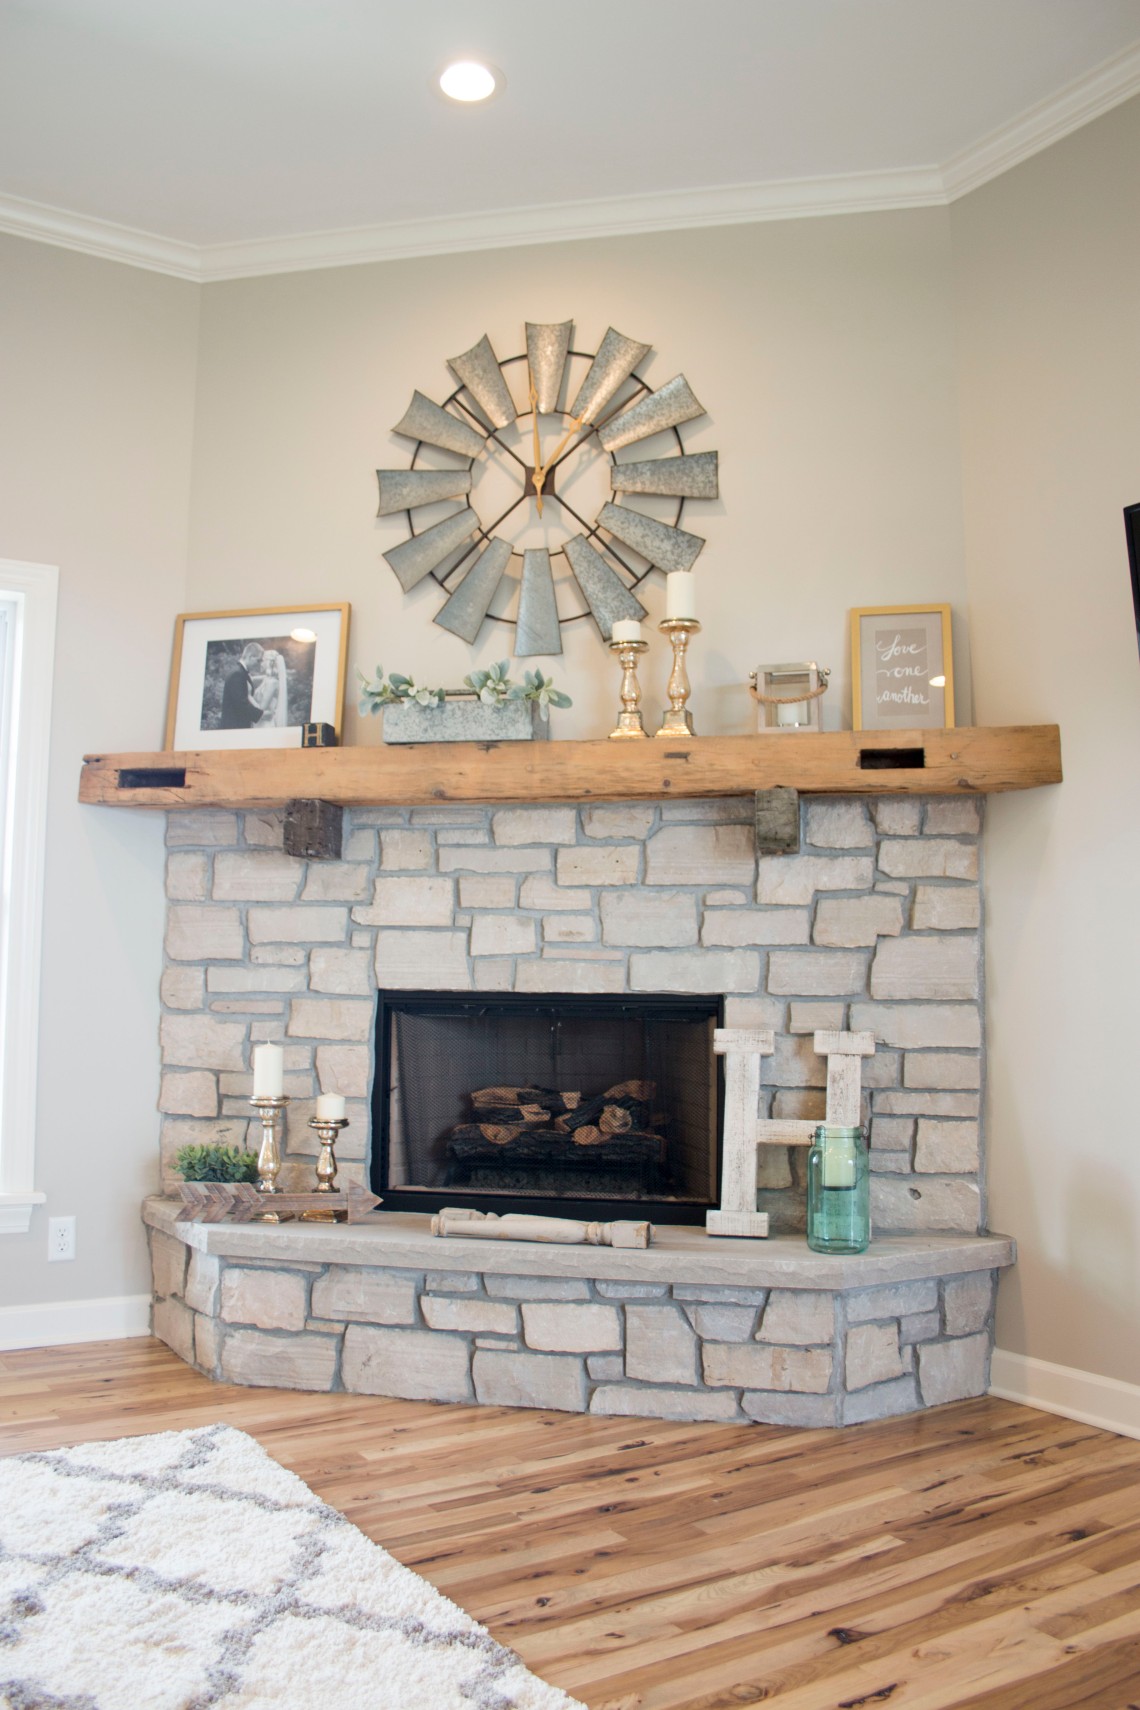 Rather than a traditional brick fireplace, we opted for stone to give it a more rustic look. Our mantle is an actual old barn beam that came from a local farm here in our area. We decided to showcase the slots in the wood by leaving them in the front to show the authenticity of the piece. This serves no purpose, just injects some character. (We get this question a lot.) The beam was sanded before it was installed, but we decided not to stain it, because we loved how it looked just raw.
Finally, to enhance our home’s rustic, farmhouse look, we decided to go with hickory wood flooring for our entire great room. We knew that we wanted a wood that was a bit harder, and would be able to handle some wear and tear from our dog and future children. Originally, we thought we wanted a wider plank and dark floor. But we completely changed our minds and decided with a more narrow plank to hide any flaws and a lighter color so we didn’t need to keep up with the cleaning quite as often. I have to say… this was a GREAT decision for us.
Traditionally, hickory isn’t a wood that is typically stained. However, I knew that I wanted to eliminate any sort of yellow tones that the wood has a tendency to show. We went with Minwax Weathered Oak Wood Finish with a matte top coat. This was one of the only decisions that the hubby and I couldn’t agree on… I was Team Stain and he was Team Natural. After much debate, the right team won (obviously) and today he agrees that it was the right choice. I win!
That pretty much covers our whole great room… if you have any questions at all, please ask! I hope you found this home tour blog post helpful when it comes your own renovation/building projects.
xo,
lauren


